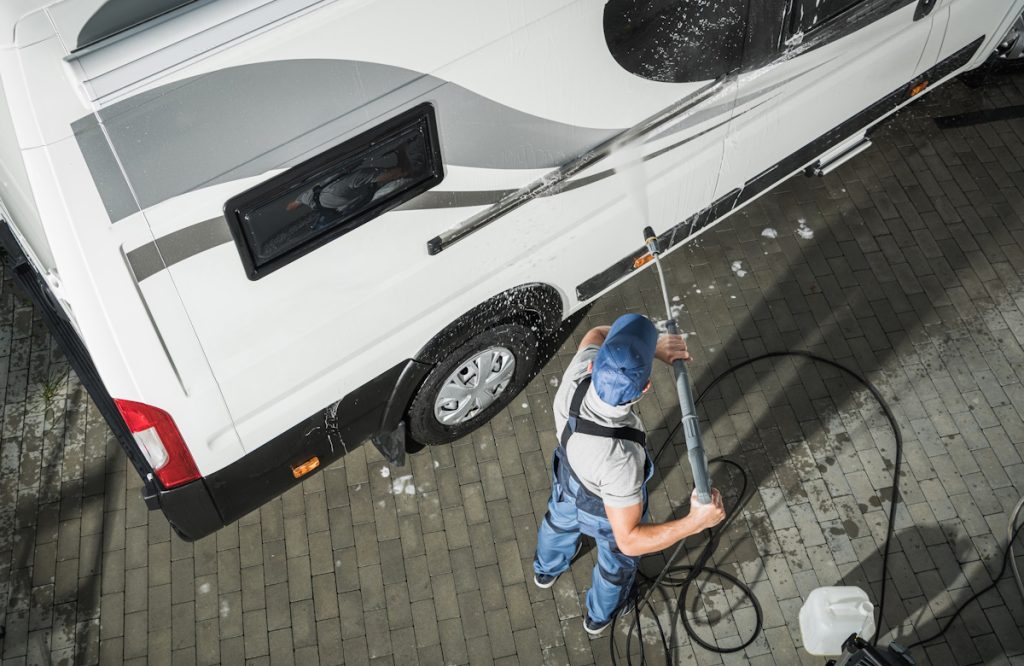
Before you enjoy spring RV camping, you’ll want to ensure your camper is properly de-winterized. Use the following tips for removing your RV from winter storage.
Inspection
Your first step is to conduct a thorough inspection of your RV, whether you stored it at home or in a paid facility. Look over the interior and exterior, both, for any signs of damage. Be especially vigilant for any indications of leaking or pests, and check the tires’ tread and psi levels.
Check the Battery and Electronics
Hopefully you removed the battery and hooked it to a trickle-charger, so if everything else looks alright, plug it back in and check the lights and other electrical systems. Verify that the brakes work as intended as well.
Prepping the Water System
One of the best parts of RV camping is access to plumbing and fresh, filtered water. Make sure the water system is ready to bring luxury to the campsite. If your water heater runs on electricity, make sure the RV’s power source is plugged in and fully charged.
If you used the low pressure air method to protect the system over the winter, you’ll need to close the drain and fill up the system with water. Make sure to pressurize it and get the water heater filled.
If you used antifreeze instead, you’ll need to flush it out of the system with water. Make sure the heater is reconnected and flush the system as many times as needed to get rid of any residual taste or smell.
These are just some of the simple but important tasks you can do to ensure your RV is ready to hit the road this spring. If you have any questions, please reach out to our friendly and knowledgeable team at Chesaco RV. We are located in Maryland, Pennsylvania, and Florida. We can’t wait to help you make the most of this upcoming camping season!
